Monday, November 12, 2012

The mounting of front new tires, rims and hub caps


Well as you can see in the original picture of the tractor, the red flyer has a thin, blue, 16" tire, late 1940s rim (with tan stripes) and a chrome small Ford hub cap. You can see by the new pictures, I have redone them exactly how they were using the original tire design.  The brand of tire is "Lester's", which I purchased in Hersey, PA.  I sure like the original look.

Sunday, October 14, 2012

Restoring the front and rear rims

                  When my father gave me the tractor it had late 1940s solid 16" ford rims on the front with thin tires.   The rims were navy blue with two thin tan stripes encircling the small chrome ford hub caps.  When I was a kid, I took them off and threw them in the family dump (that's against the law today to have a family dump) and put on some big fat "mud dogs" with flat black rims.  To return to how it was when my father gave the red flyer to me, I found two rims at a tractor show here in Hebron. After having them sandblasted, I primed and painted them navy blue and before clear coating painted on two thin tan stripes.
                    Now the back rims were a completely different story. They are late 1920s LaSalle wooden spoke rims. They were painted with many coats of red tractor paint.  I stripped them with paint stripper and revealed the wood spokes and decided to polyurethane the wood.
                    After many coats of primer and lots of hours of water sanding, now the rear rims are looking great with new red paint and 3 coats of polyurethane on the spokes.  Even my wife, Marie, helped me out untaping the wooden spokes.


Sunday, July 15, 2012

The clean up of the front transmission and installation of the engine

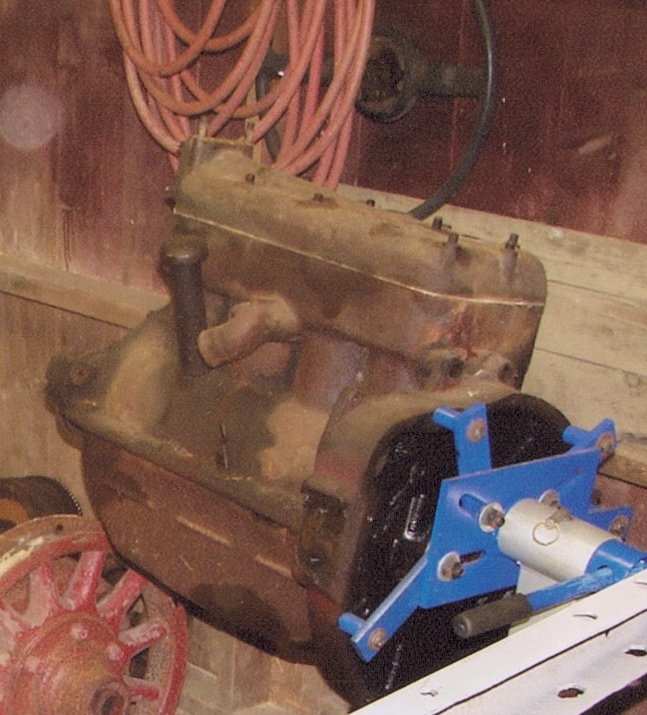
First I power washed, the front 3 speed transmission, then primed and painted it.  Next, I installed a new pilot bearing in the flywheel mounted the flywheel on the engine.  Then, I installed a new clutch plate and bolted in the pressure plate.  Before installing the transmission on the engine, I pressed on a new throwout bearing.  With the help of my brother Jack, we bolted the transmission onto the engine.


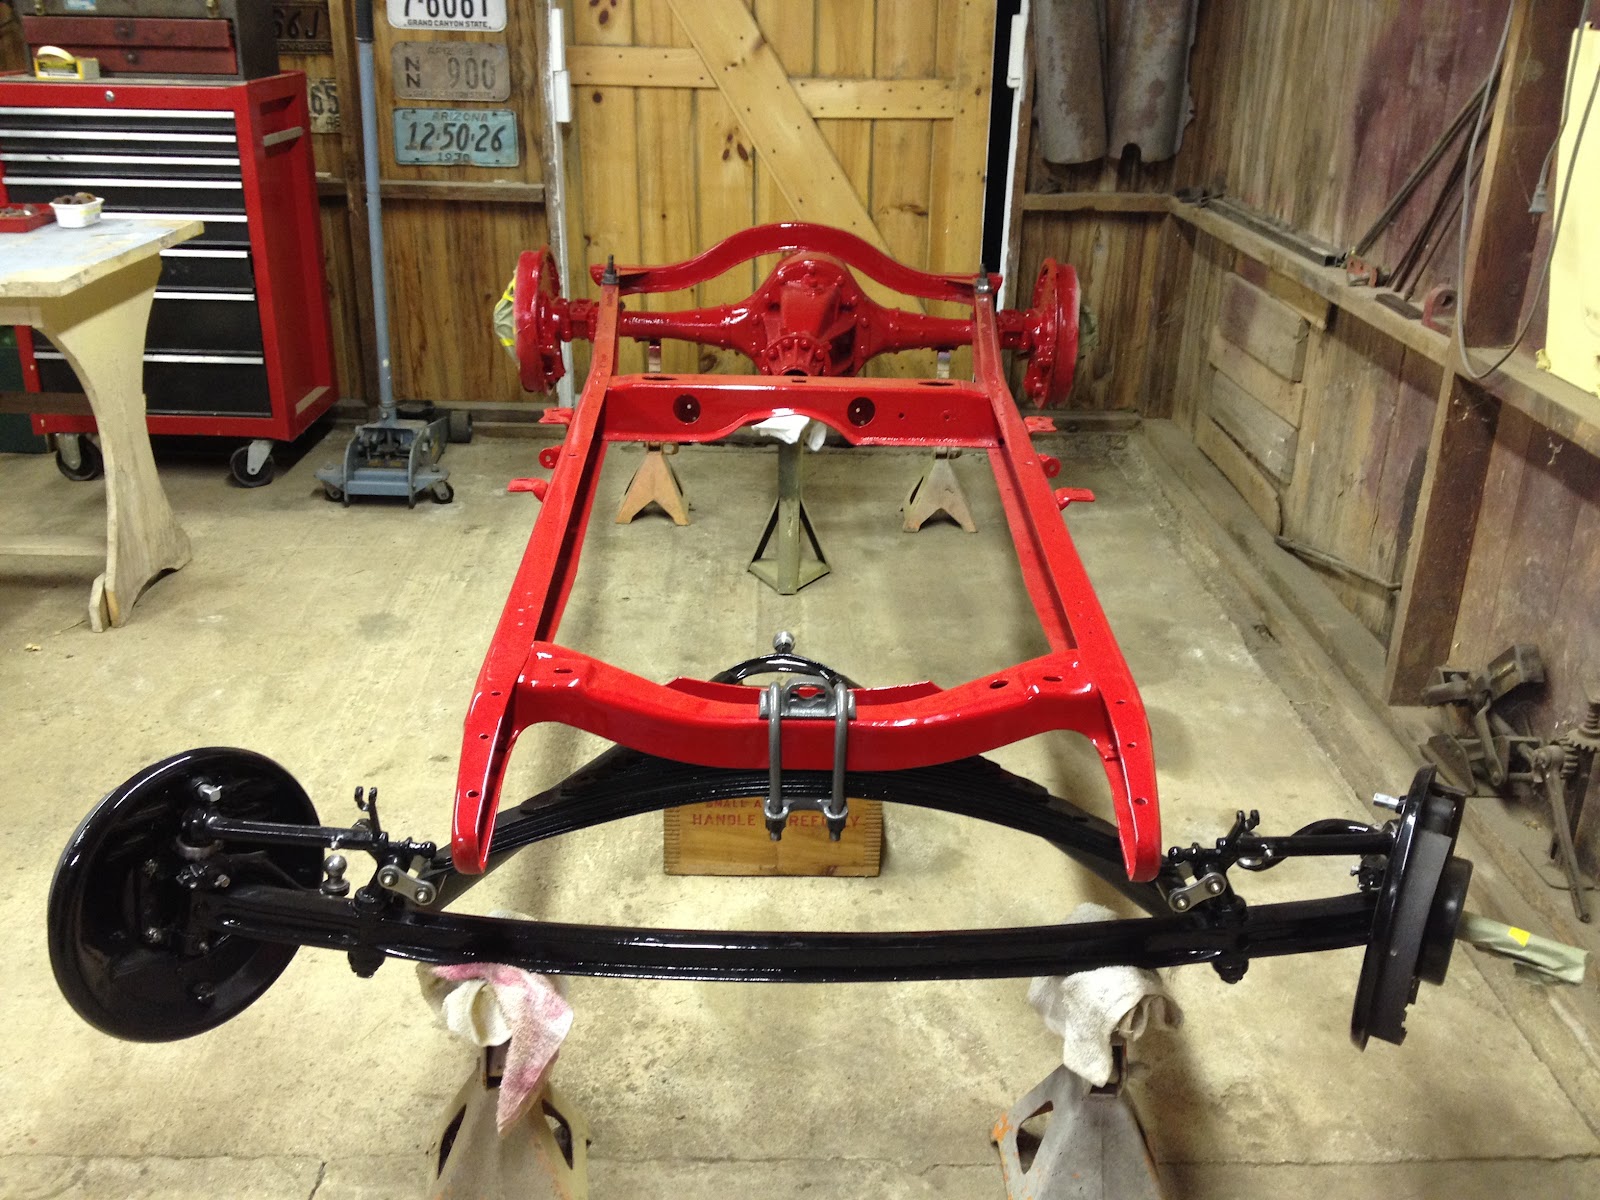
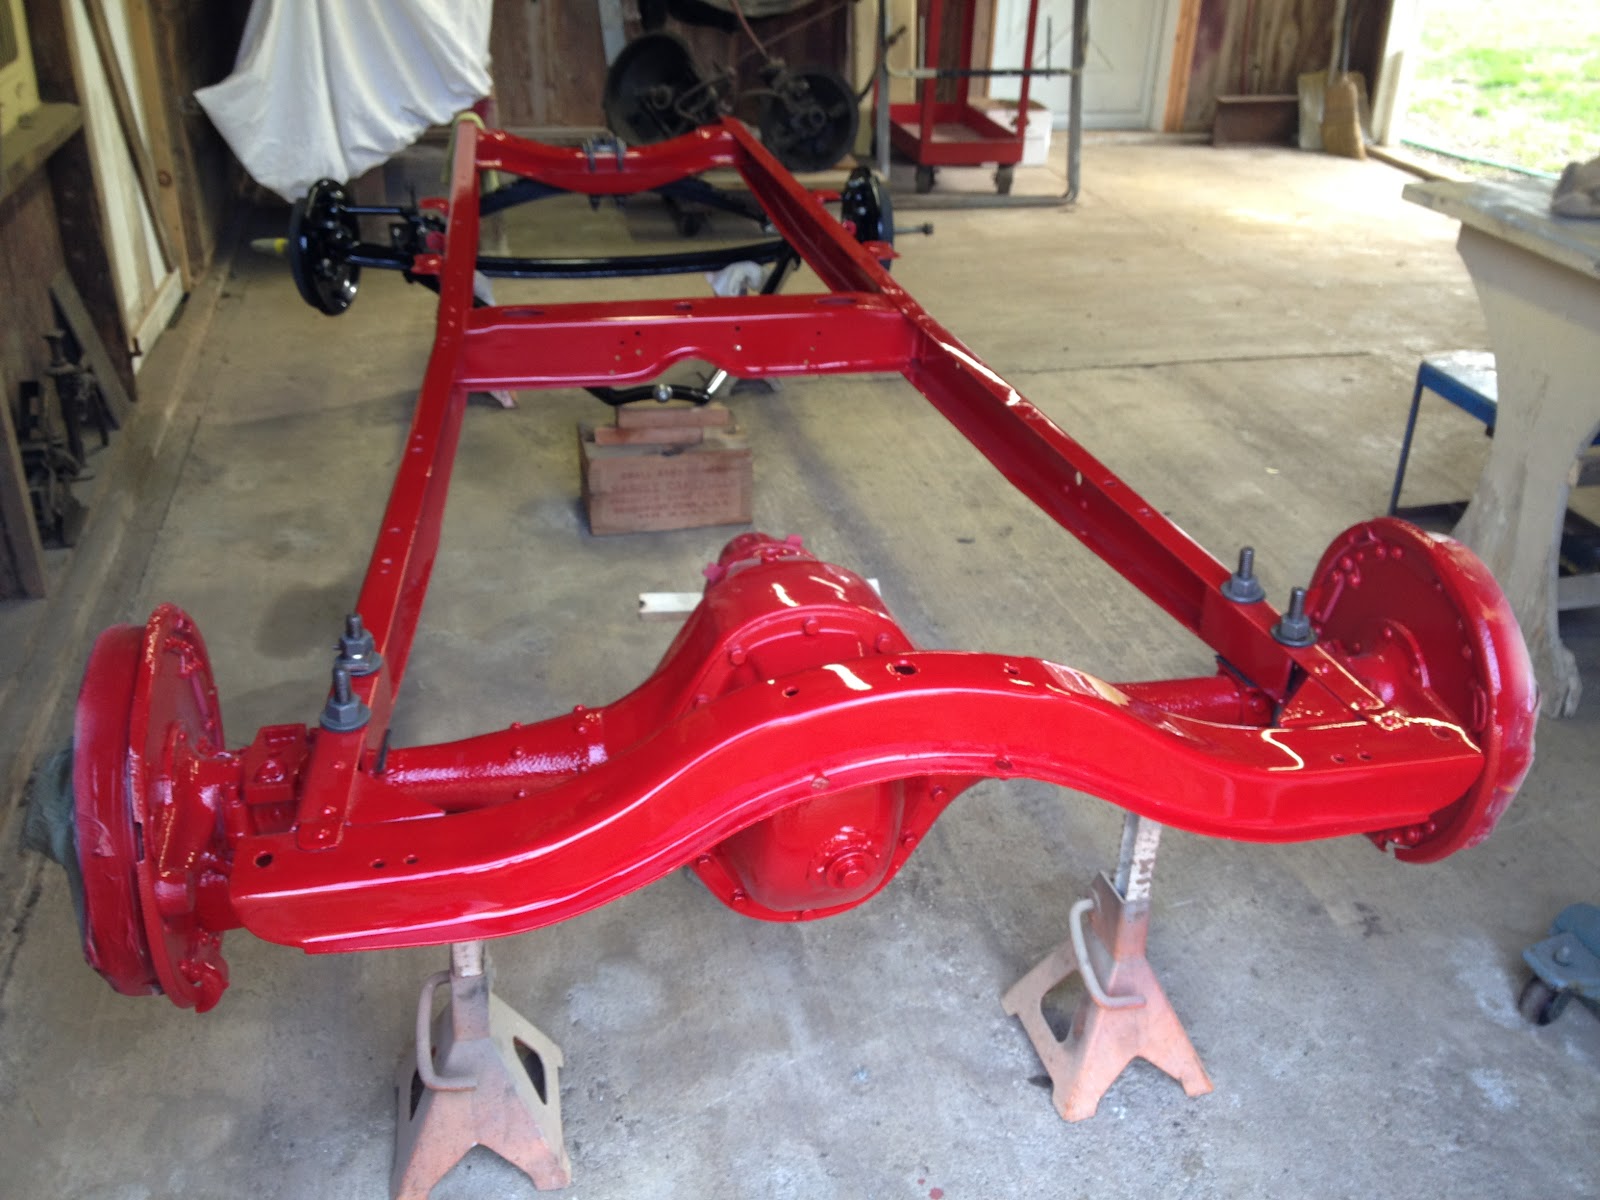
 Next, I installed the rear motor mounds to the frame with new rubber pads, bolts and bushings.  


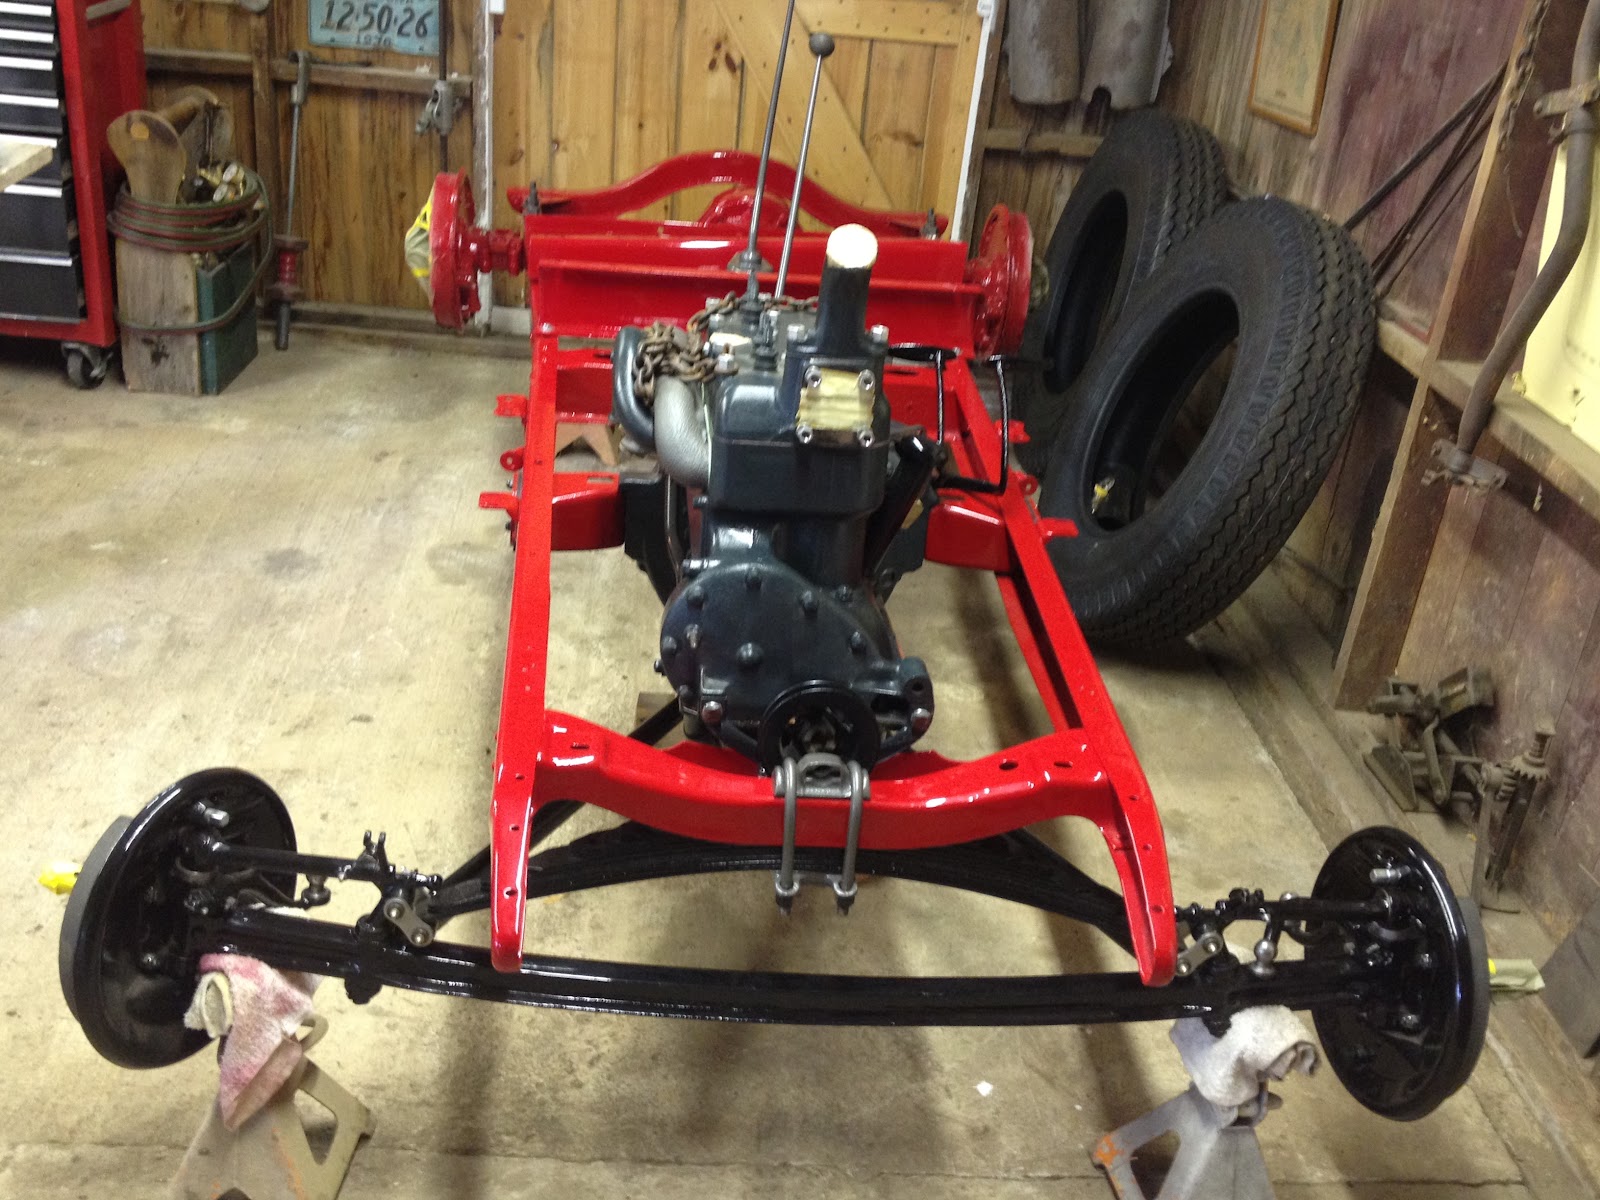
With the frame and the new front engine mound ready, I chain-hoisted the engine and transmission into  the frame.  

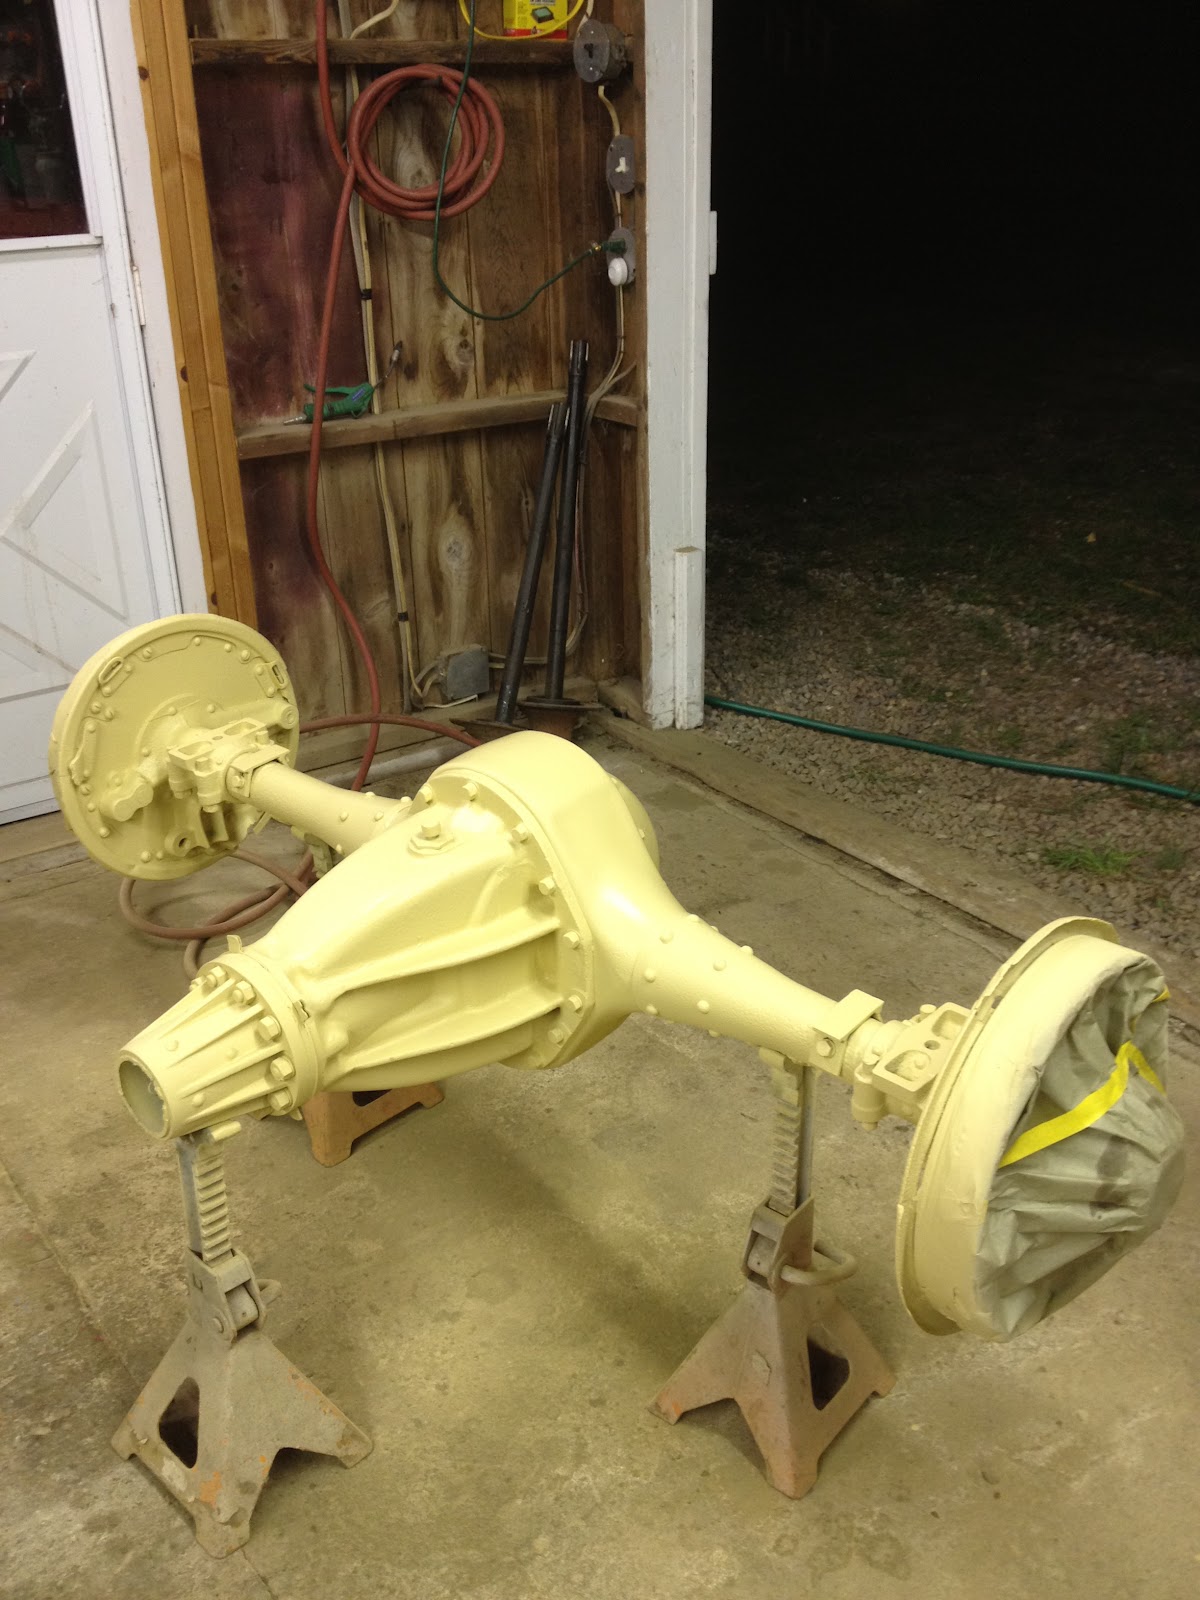
Finally, the running gear is back in the frame.
       

Sunday, June 24, 2012

The making of a homemade u joint and installing the rear transmission

As you can see in the first photo this is the old worn out u joint my father made.  It was made of many layers of canvass.  Being that the back La Salle transmisson bolts directly to the rear end there needed to be some kind of flex joint and that was what my Dad came up with.  It lasted 71 years.  Not bad!  So, I decided to make a new one out of 2, 1/4 inch thick rubber pads and a thick layered buffing pad in the center.  I then made 2 wooden templates with holes drilled for bolts, screwed all together, then trimmed it on my bandsaw.  I then removed the wood templates.  Now my new u joint (looking like a huge ice cream sandwich) was ready to be installed.


             Next using the chain hoist I installed the rear transmission with the new u joint and then bolted up the two cross members that hold the transmission in the frame.  Now onto the front transmission.


Sunday, June 10, 2012

Installing rear cross brace and cleaning up rear transmisson

I painted and reinstalled the rear brace with four brackets to hold up the front of the La Salle rear end.  Next was to power wash (3 times ) the rear transmission ,also a LaSalle 3 speed.  Then wire brush with a electric hand grinder all nooks and crannies till clean ready for paint.  But before painting, I had to pull off the top of the trans and figure out why it woudn't shift.  Not sure what I did besides realigning and moving a few gears around then putting in some new gear oil, but its shifting like a new corvette now.        


 Next , painted the transmission red to match the rear end.

Sunday, April 22, 2012

"Finally" back together we go!

Its been a long haul , but now it feels great to be bolting major parts together.  Last week with the help of my friend Pat who I work with, we were able to get the rear end and front axle bolted back into the frame.  The color I'm painting these parts is exactly how my father did ,only he used a brush.


(the battery terminal)


                If you notice, the rear end is bolted directly to the frame,no springs in the back. Thats how my father did it.  He used large u bolts that were way to long, so had to use lots of washers to take up the threads. He must have run out of washers and when I was taking it apart I discovered a "Battery terminal" that he used as a spacer.  I got a big kick out of it, so after rethreading the original u-bolts  I cleaned up that "Battery terminal" and reinstalled it on one of the bolts.  Now you know when you see it in one of the pictures.  That battery terminal was as important as all the new parts I've bought.

Wednesday, April 18, 2012

A bright red rear end


This is the 1927 La Salle rear end my father installed in the tractor.  I have spent the last 2 weeks degreasing, grinding, sanding and building new brackets to hold it flat against the frame.  Finally priming then painting red to match the model a frame.

Sunday, March 25, 2012

The "red Flyers" engine


This is the original 4 cylinder engine. After getting it mounted on a engine stand and torn down I discovered very bad burn't valves and two broken valve springs and also a blown out head gasket.  Last time it ran it had a bad skip. It didn't use or burn oil so after checking piston slap and crank bearings and seeing cylinder walls were in great shape I decided to leave crank,and pistons alone.
        Work done and new parts:
                  1. complete engine gasket set
                  2. rebuilt oil pump
                  3. rebuilt water pump
                  4. rebuilt carburator
                  5. replaced all valves,springs and keepers then ground the valve seats
                  6. rebuilt starter and generator
                  7. hammered out all dents in the oil pan (hit many field rocks)
                  8. rebuilt distributor and all new electrical stuff from coil to plugs.
                  9. painted all original Model A colors.