Sunday, June 30, 2013

Installing the Cowl Assembly

     It's finally time to buff and polish, put on the moulding (molding(?) and install the cowl assembly.  This part of the tractor includes: the firewall, gas tank, and mounting area for the steering column and dashboard.


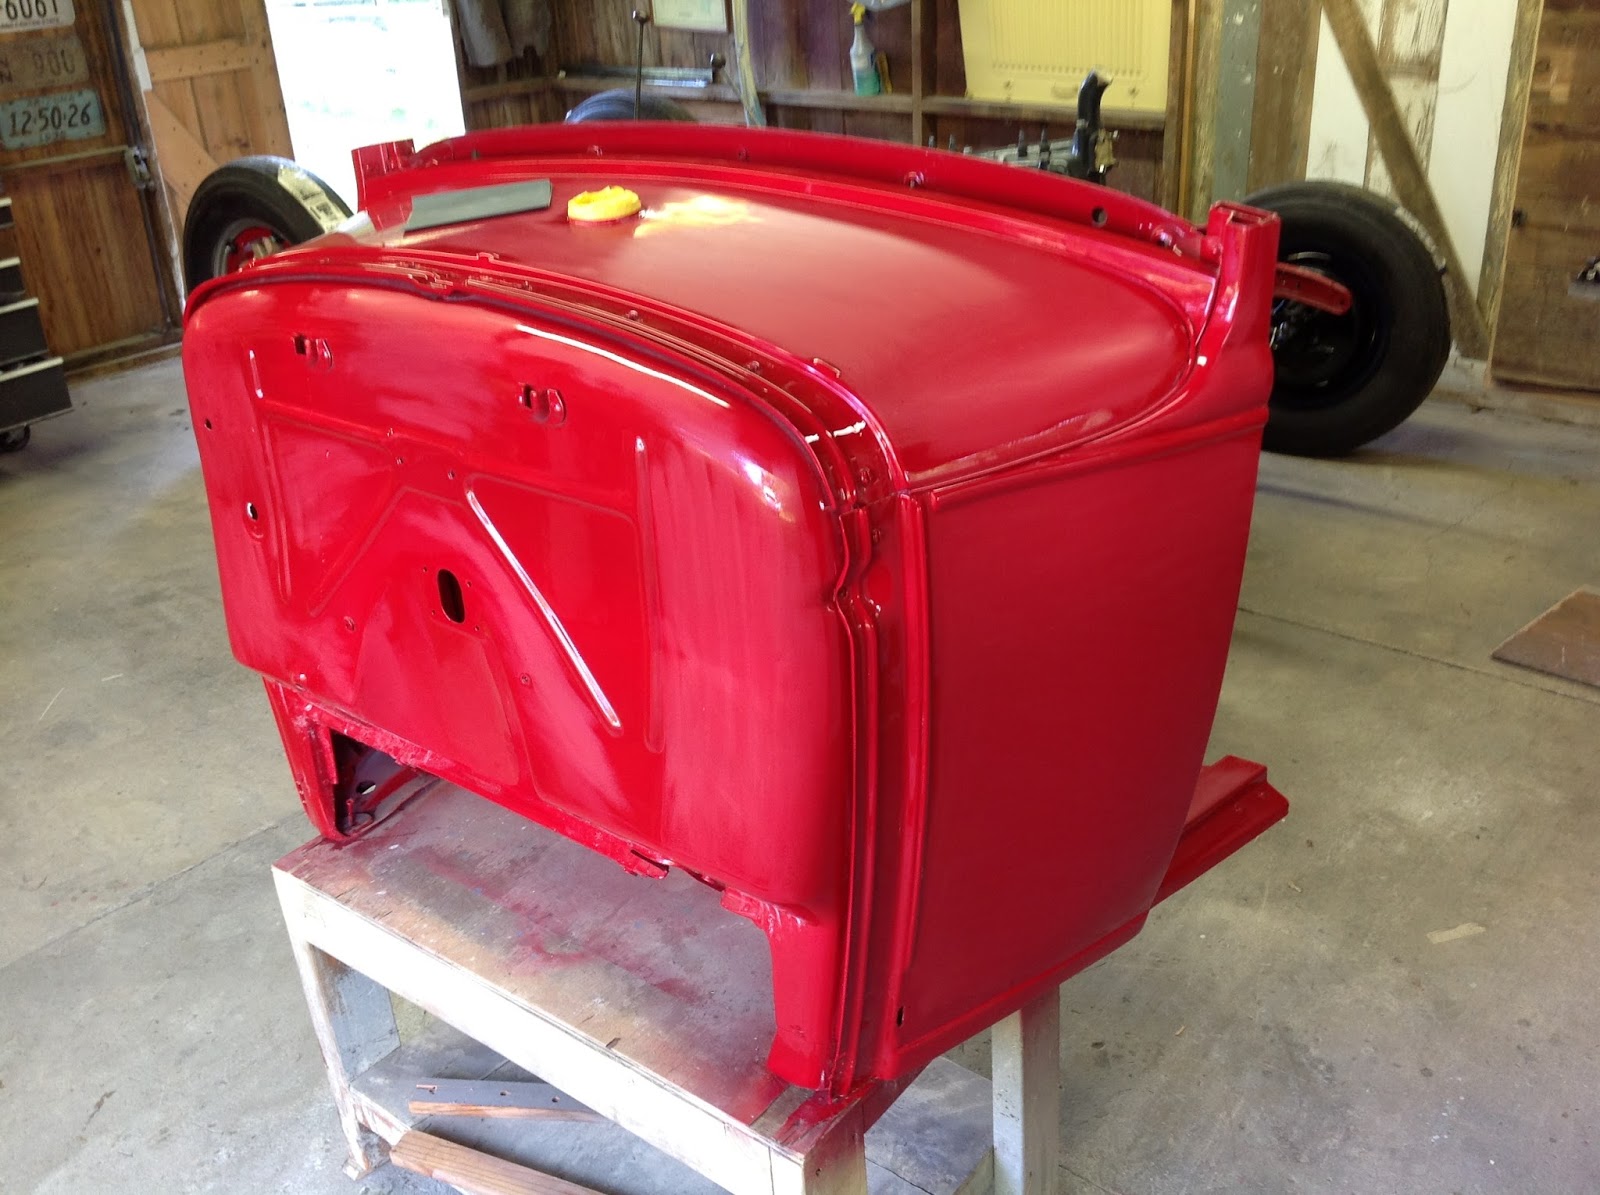
First step:            1.  wet sand the clear coat with 2000 sandpaper
                            2. machine buff out with rubbing compound
                            3.  rewash out compound, dry, then machine buff with swirl remover
                            4.  hand wax and buff - like every time I go to work on tractor now :)


Second step:       Install new cowl stainless steel moulding, patten tag on fire wall and new wooden body mounts that I made.


With the help from my brother-in-law Tom, we set the assembly on the frame and bolted it down.  Believe it or not, I was able to use the original 1930 carriage-style bolts with square nuts and washers.  With a wire wheel I was able to restore them to perfect condition.  I get a big kick out of being able to do that with the original hardware.


Saturday, June 8, 2013

Completing rear rims and mounting new rear tires

     After a few months of looking in 3 states for replacement split rims, I gave up, and decided to rebuild the old ones.  As you will see in the photos the originals were in real tough shape.  I spent over 40 hours cutting, welding, grinding in new sections, priming and then painting.  I had my friend Rick help me mount 2 new "Lester Balloon" 700x20 tires, new liners and tubes that I bought on line out of Pennsylvania.

     The bolts, nuts and special "Jaxson" clamp washers that hold the rims to the wooden spoke wheels were very, very hard to find.  I finally located them from an old time La Salle wheel rebuilder in Oregon.

     Finally, with all four tires mounted, the frame is now down on the floor.  For the first time in 2 years, the Model A can actually roll around!