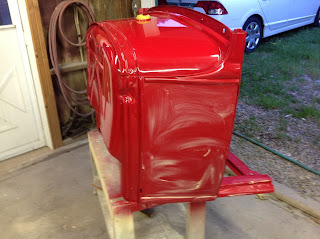
First step: 1. wet sand the clear coat with 2000 sandpaper
2. machine buff out with rubbing compound
3. rewash out compound, dry, then machine buff with swirl remover
4. hand wax and buff - like every time I go to work on tractor now :)
Second step: Install new cowl stainless steel moulding, patten tag on fire wall and new wooden body mounts that I made.
With the help from my brother-in-law Tom, we set the assembly on the frame and bolted it down. Believe it or not, I was able to use the original 1930 carriage-style bolts with square nuts and washers. With a wire wheel I was able to restore them to perfect condition. I get a big kick out of being able to do that with the original hardware.


No comments:
Post a Comment