I spent 3 years searching for one that was in better condition than the original. The original which was damaged and had many cracks and dents, were caused by "yours truly" as a young boy driving the Model A through the woods and around the fields of our property.
I finally found a pretty nice one in Denver, Colorado at Burts Vintage Ford while visiting my daughter April who lives in Castle Rock. I paid $100.00 for it. It had a few small cracks and many minor dents down the sides. The cracks I had tig-welded and then I spent 35 hours of lightly pounding out dents, metal filing, fine grit grinding, buffing and high speed bench polishing with 3 different compounds. It looks great, if I should say so myself. I'm very happy with it, and most of all, its an original "Oldie but Goodie".
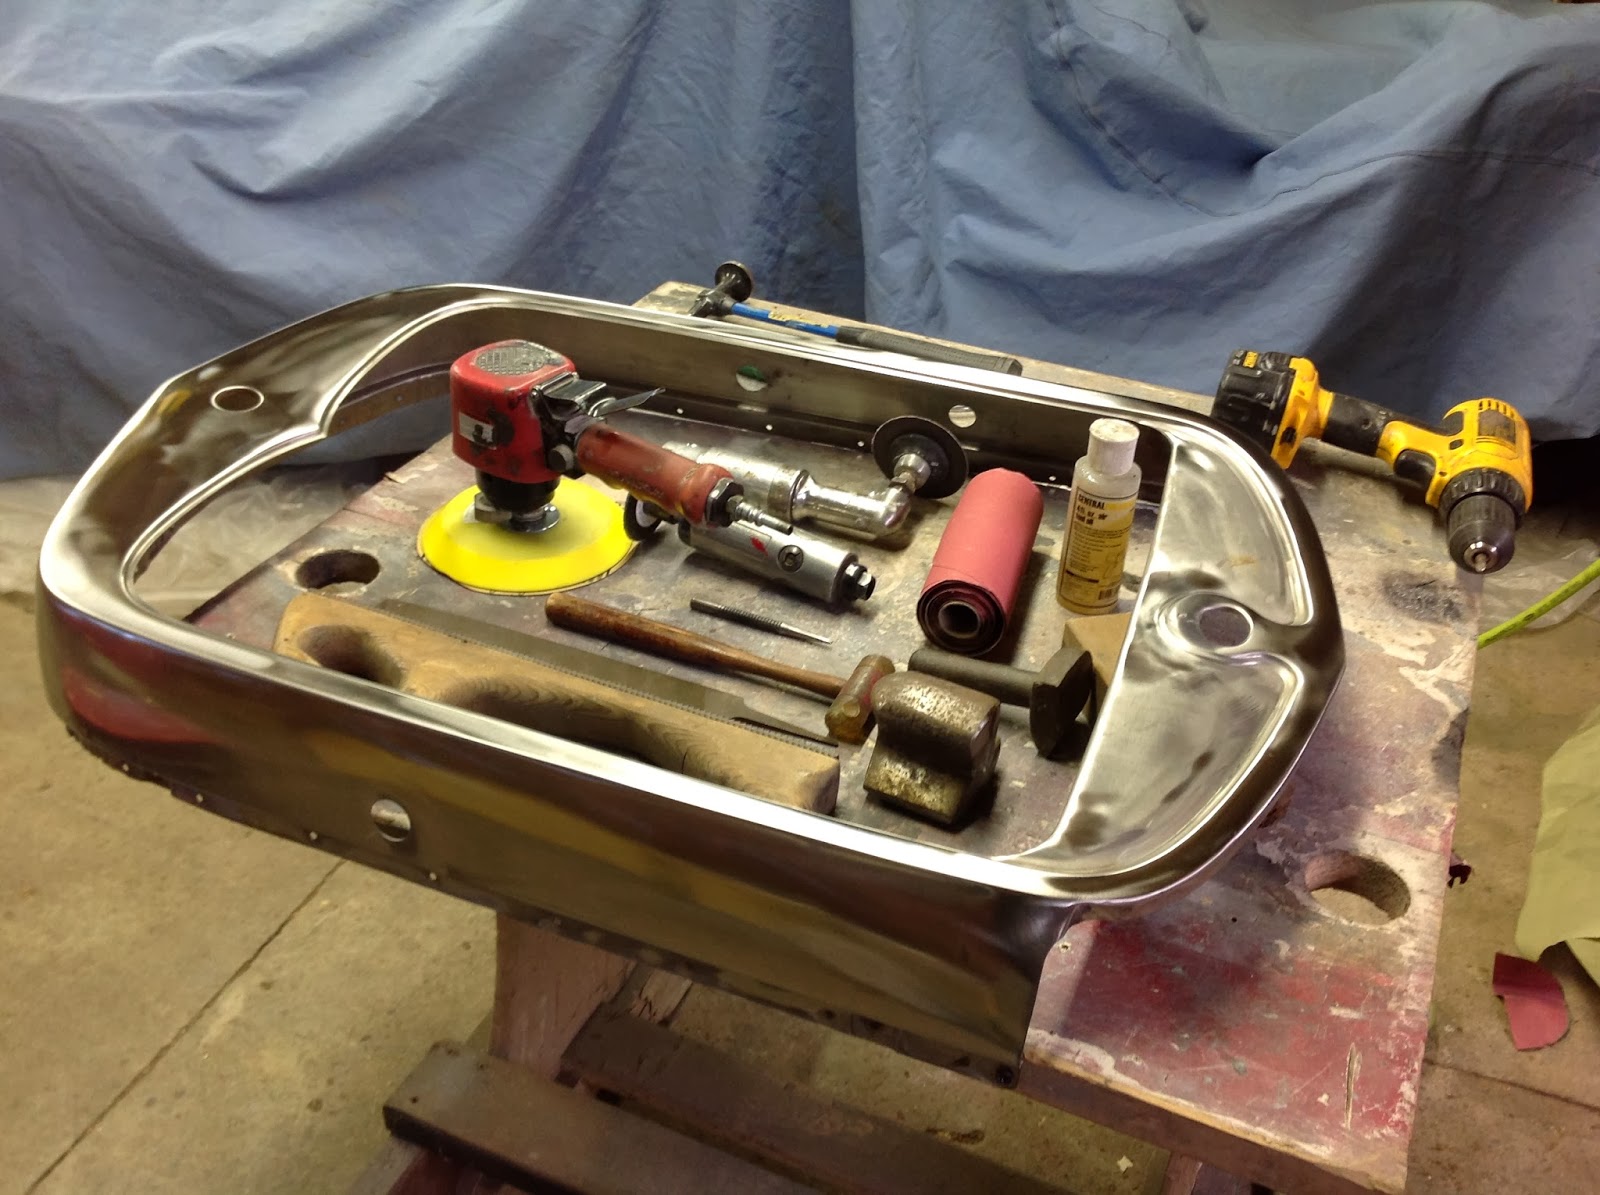
Beginning of pounding and filing stage

I had to screw down the shroud to a table so I could metal file out the high spots. Then, lots of careful filing so that I would not scar the stainless.

Then, I lightly ground and fine sanded the damaged areas. When this was completed, I was ready for the high speed buffing and polishing. I used a high speed bench polisher with 3 different compounds.

Next, I installed the original crank hole door that I transferred from the original tractor shroud. Believe it or not, I was able to reuse the tiny little copper rivet. I then painted the bottom as it should be "flat black".

After the polishing and painting was done, I riveted all new hood welting onto the shroud.

Here it is, finished and installed. Looks like new! Very happy how it came out. The Ford emblem is also original and I reinstalled it at the top center area (as you can see in the picture). The last step was to put on the new "Flying Quail" radiator cap. My father was a big fan of hood ornaments and I know would have loved this. I have old photos of the tractor, taken in the late 40's, which show a Flying Quail radiator cap he once had on the tractor.


No comments:
Post a Comment